51I want to weave
Loom, sett, warp plan, draft and finishing. It is a beta, and you turn it on yourself
- A project whose craft is Weaving. That is what makes the Weaving tab appear. It also replaces the Pattern tab, because a draft is not a pattern.
- The weaving tools are a beta and off until you turn them on. The tab asks you the first time you open it, or you can switch them on in Settings → Appearance → Beta Features → Weaving tools.
- A Ravelry account, since the project lives there. Visitors can read a weaving record you have published; only you can edit it.
- Works on iPhone, iPad, Android and the web.
Make a project and set its craft to Weaving, either in the new-project sheet or later from Edit. A Weaving tab appears on the project. Open it and it asks: Try the weaving tools? Tap Turn on weaving tools and the record opens.
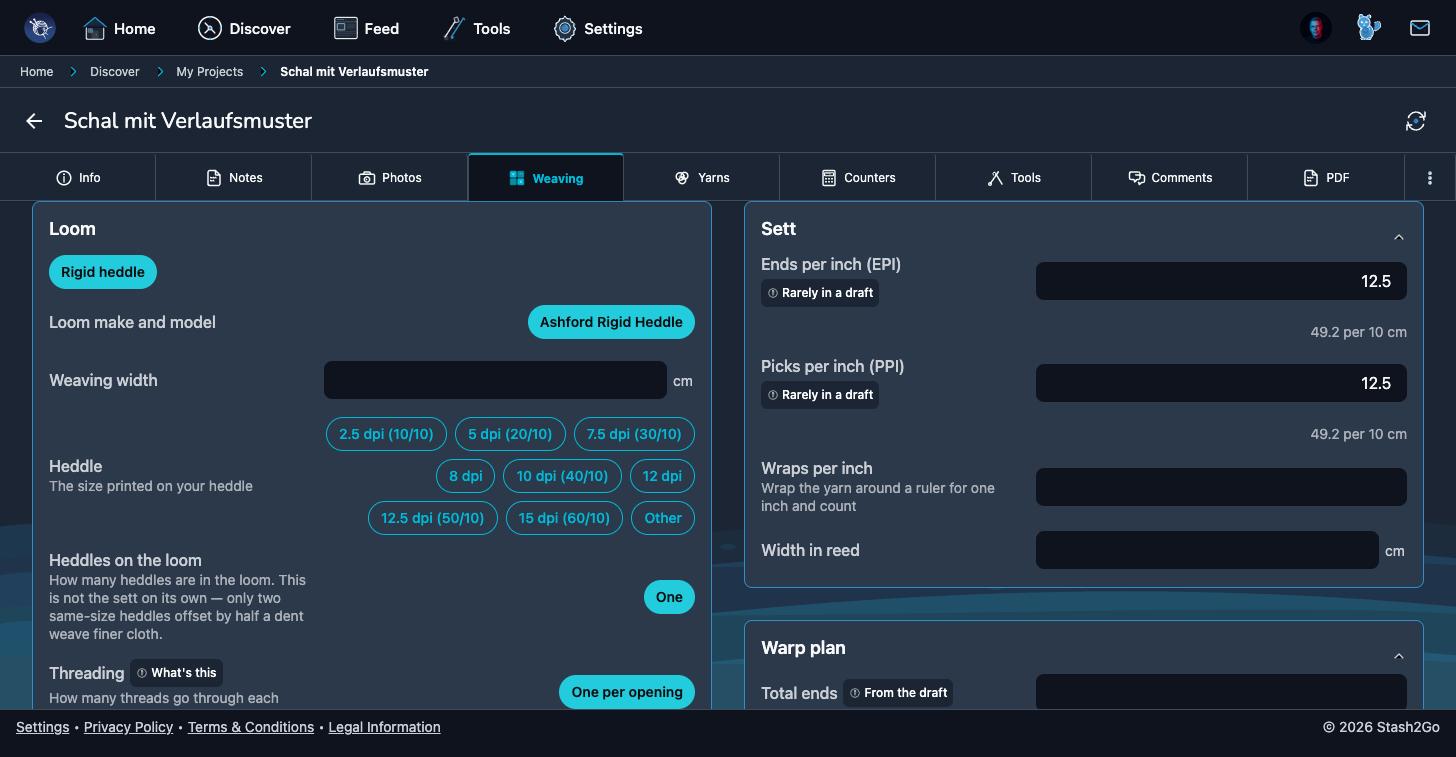
Start with the loom, because it decides what the rest of the tab asks you. Rigid heddle, Table loom, Floor loom, Dobby, Pin loom, Inkle, Tablet or card, Tapestry, Backstrap, or Other. Pick one and the fields that matter for it appear. The ones that do not, do not.
A shaft loom asks for shafts and treadles, and for its loom action (jack, counterbalance or countermarch), because that decides which tie-ups it will weave comfortably. A rigid heddle asks for the heddle size, how many heddles are in the loom, the threading, and any pick-up sticks or heddle rods. A pin loom asks only for the square size, and whether you wind one strand per pin or two. Then it tells you roughly how much yarn your squares will take.
Sett is how closely the warp sits: ends per inch. Record the reed you are using, in dents per inch. Record how many ends per dent you are sleying, either one number or a repeat you count out at the reed, such as 2,1. Then the width in reed. On a rigid heddle the sett follows from the heddle and the threading instead, and the app tells you where its number came from.
Measure the yarn's wraps per inch: wrap it round a ruler for one inch and count. The app then offers a typical starting sett for that yarn, or a sourced range if you are weaving weft-faced. It says what it is basing that on, and it says to sample.
- Sett / EPI
- Ends per inch: how many warp threads sit in an inch of width. Too open and the cloth is sleazy; too close and it is board-stiff.
- Warp and weft
- Warp runs the length of the loom, under tension. Weft is what you throw across it.
- Reed and dent
- The comb that spaces the warp. A dent is one gap. A reed marked 50/10 has 50 dents per 10 cm - which is 12.7 per inch, not 50.
- Wraps per inch
- A quick measure of how thick a yarn is, taken by wrapping it round a ruler.
- Tabby
- Plain over-one-under-one weave. In overshot the tabby weft is structural: without it the floats are not tied down, and the cloth is not overshot.
Name the structure you are weaving, and say where the draft came from: book and page, an archive number, or a link. The structure list shows what our sources document for the loom you chose. It is a list of citations, and you can weave something else. Other takes any name you like, and rigid-heddle terminology in particular is still settling.
You can keep the draft itself here too. Import WIF brings one in from your design program, and Export WIF takes it back out to work on there. The draft is drawn the way weavers read it: threading across the top, tie-up top right, treadling down the right, cloth in the middle. Open full view gives it the whole screen, with a size control for old eyes and small phones.
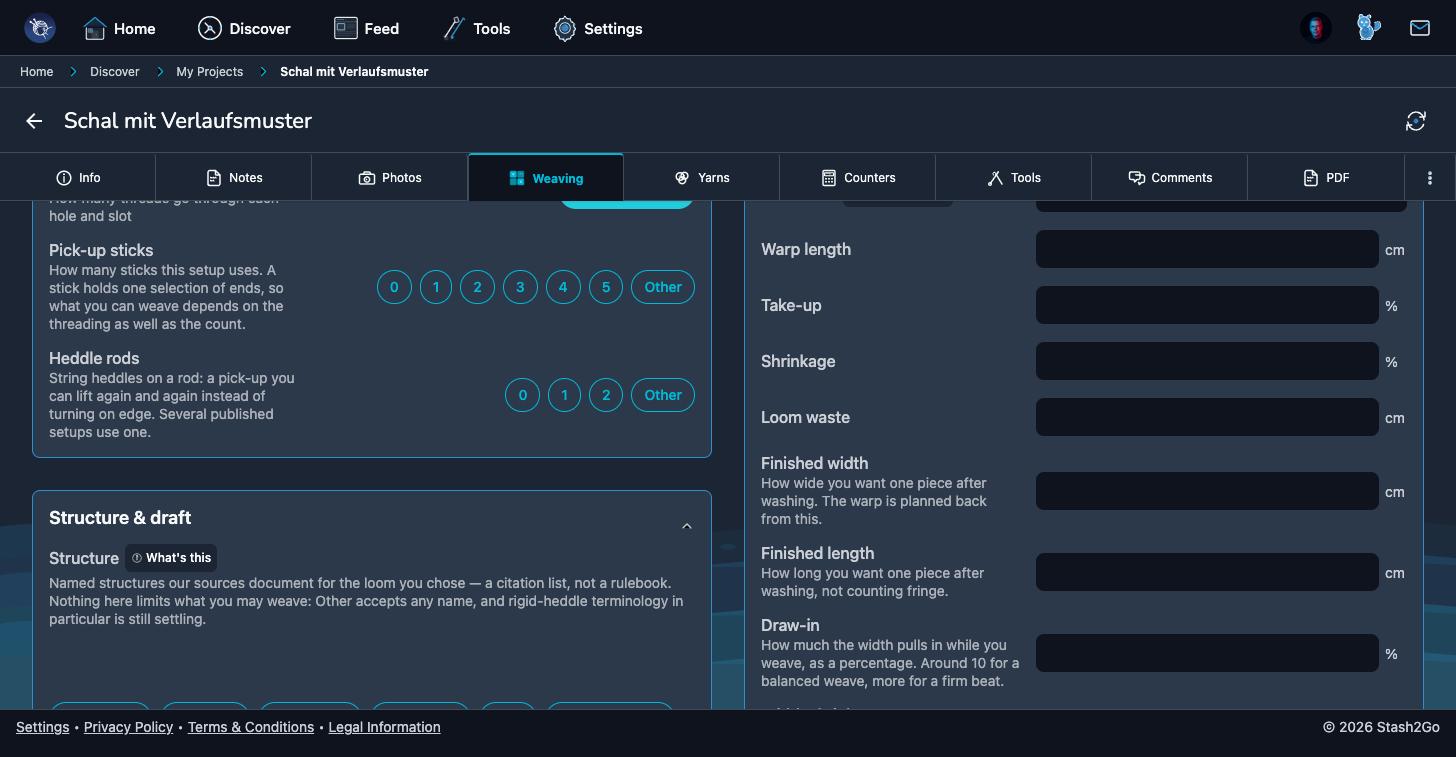
How long a warp, and how many ends? Record the total ends and the warp length. Then the three things that make a warp longer than the cloth: take-up (the yarn that goes into the over-and-under), shrinkage (what wet finishing will take), and loom waste (what is tied on and never woven). Say how many pieces you are getting from the warp, because four towels from one warp is four pieces, and note your warping method. There is draw-in as well: how much the width pulls in as you weave, around 10% for a balanced weave and more for a firm beat. Give it the finished width and length you want, and the warp is planned back from there.
- Take-up
- Cloth is shorter and narrower than the warp you measured, because the threads bend around each other. You plan for it.
- Loom waste
- The warp that never becomes cloth: what is tied to the front and back. Roughly the same on every warp for a given loom, so it is worth learning yours.
- Wet finishing
- Washing the cloth off the loom. Threads bloom and settle - this is when weaving becomes fabric, and it is why the finished measurements differ from the off-loom ones.
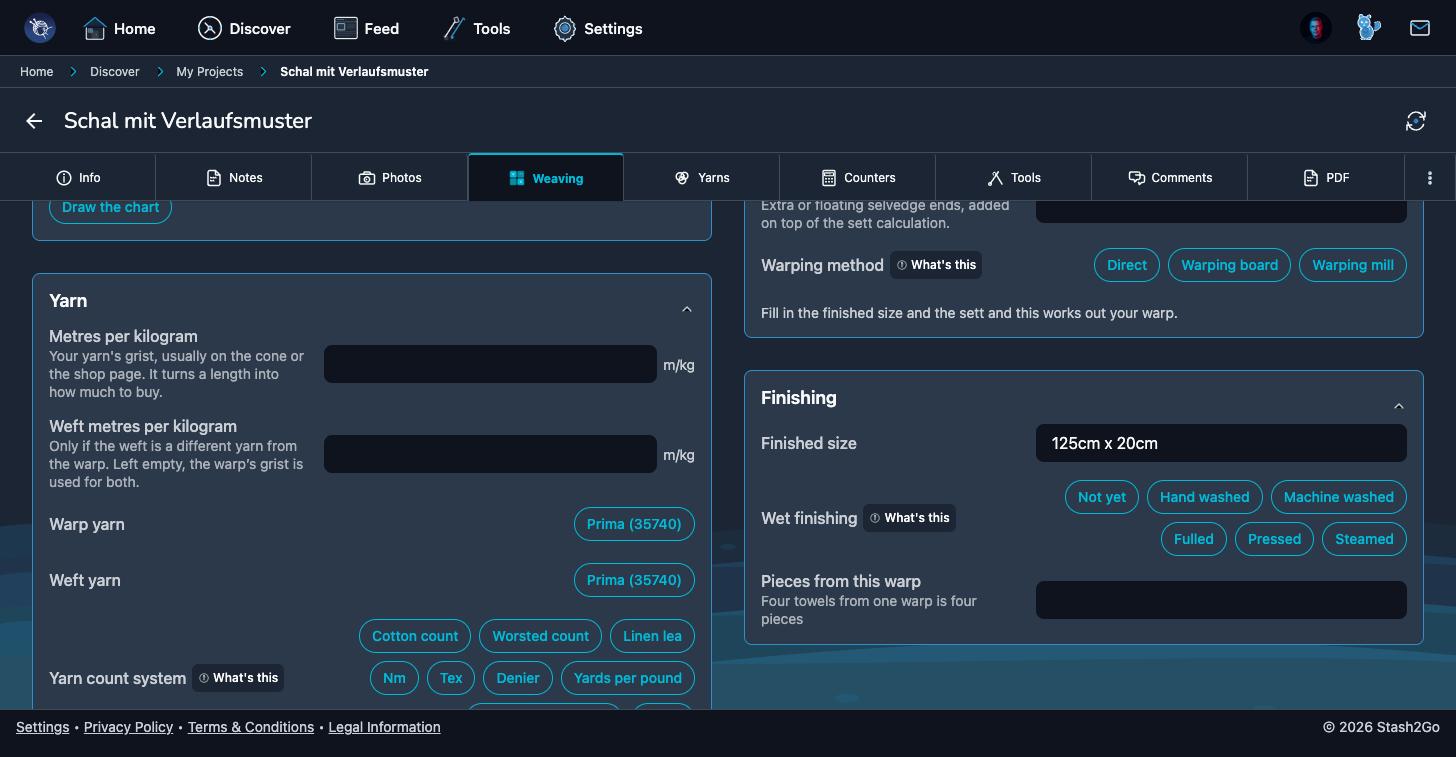
Pick the yarns on the project's Yarns tab as usual, and they turn up here to be assigned: warp yarn, weft yarn, and tabby weft where the structure needs one. There is a yarn count system field for the counts weavers use rather than knitting weights: cotton count, worsted count, linen lea, Nm, Tex, denier, yards per pound. And a metres per kilogram field for the yarn's grist, which is what turns a length into how much to buy. Leave the weft grist empty and the warp's is used for both.
When the cloth is off the loom, record the off-loom width and length. Then how you wet finished it: not yet, hand washed, machine washed, fulled, pressed or steamed. Then the finished measurements. The app works out your width and length shrinkage from those two pairs of numbers, and shows you the arithmetic rather than asking you to trust it: (off-loom − finished) ÷ off-loom × 100.
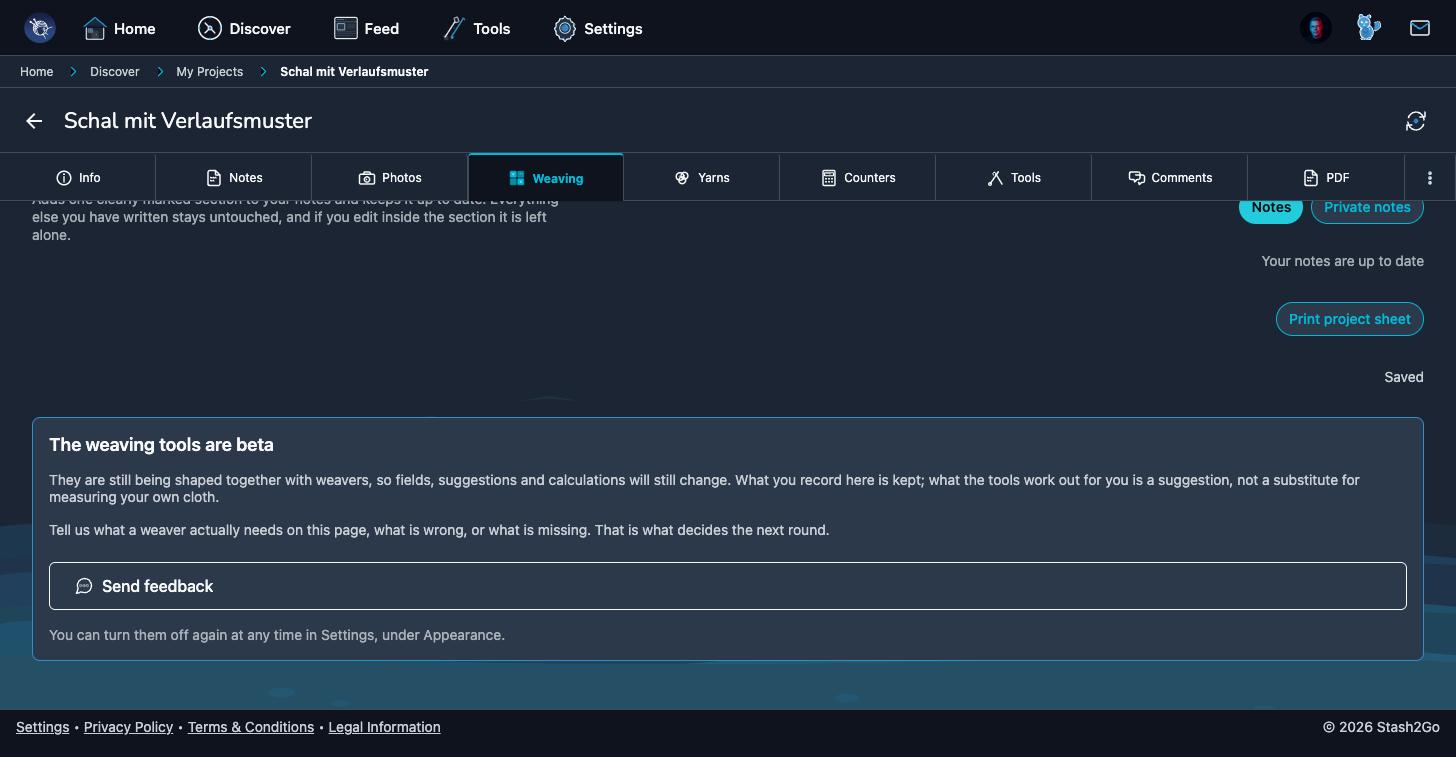
Print project sheet turns the whole record into a PDF, to keep beside the loom or file with the cloth. On a phone it opens so you can share it or print it. On the web it downloads, and on an iPhone you will find it in Files → Downloads.
Publish to the Ravelry project notes writes the record into your notes as one clearly marked section, and keeps it up to date as you change things. Everything else you have written is left alone. If you edit inside that section yourself, the app keeps your words exactly as you wrote them rather than writing over them. You choose whether it goes to your public Notes or your Private notes, and it is a separate opt-in from the tools themselves.
Available on iPhone, iPad, Android, and web at app.stash2go.com