10I want to document my work with photos
Add photos, set a primary image, reorder, and add captions
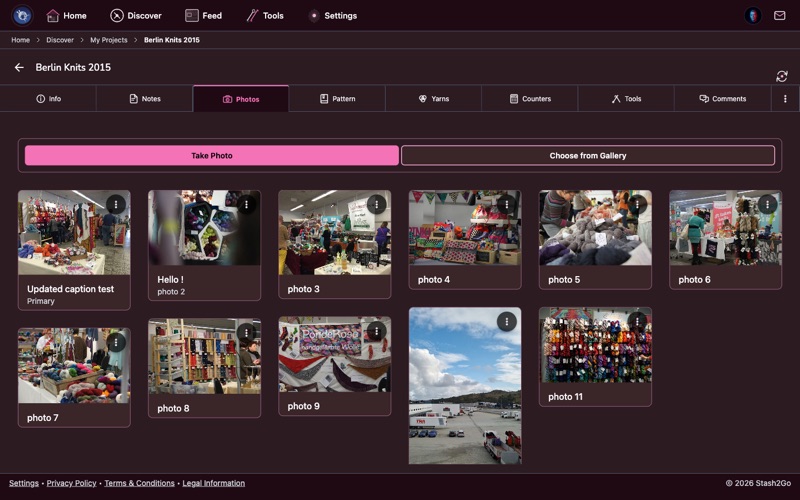
Navigate to your project and tap the Photos tab. All project photos are displayed in a masonry grid layout showing your work at a glance.
Tap the camera or gallery button to add new photos. Take a photo directly or choose from your device's photo library. Multiple photos can be added at once.
The first photo becomes your project's hero image. Use the reorder controls to arrange photos in the order you want - progress shots first, finished object last, or however you prefer.
Tap a photo to edit its caption and copyright notice. Captions help you remember what stage each photo shows - "after blocking", "sleeve detail", "before seaming".
Choose which photo represents your project in lists and search results. Your best finished photo makes a great primary - it's what other crafters see first.
Available on iPhone, iPad, Android, and web at app.stash2go.com